Make the Body:
 Click on box button and drag up to create the box in the Perspective view. In the Parameters, Set Width Segs to2, Height Segs to2.
Right-click on the box, choose ‘Convert to’, and select ‘convert to Editable Poly.’ In the top view, click Slice plane button, click Slice button to slice the box in the ‘Editable Geometry’. Then click vertex selection mote button and select all vertexes on the left of the box, then delete those.
Click Mirror button on the main toolbar, select X as the Mirror Axis and Instance Selection, and then click OK.
On the front view, modify the outline of the body. Select polygon in the bottom of the body, then click Face Extrude from Modifier List. Repeat it three times. The first time for make the legs and set the place. Second for make the shins, the last for make the position of the feet. After that, modify the shape by vertex.
Select two polygons in the front of the feet. Extrude the shape by Face Extrude. Click Vertex selection mote button to modify the shape.
Arm:
Select the shoulder on the perceptive view, click Slice button to add a loop of line on the shoulder of the ‘Slice Plan’ in the ‘Editable Geometry’.
Select the four polygons on the middle, click Face Extrude button to extrude twice for make upper arm and forearm
Hand:
Select two polygons on the front of forearm and click Face Extrude to extrude three times. Slice the arm by Slice and extrude these polygons to make the finger. Then modify by Vertex.
 Tail:
Tail:Click on Cylinder button and drag up to create the cylinder in the Perspective view. In the Parameters, set Height Segs to5. Set the place on the left view. Right-click on the box, choose 'Convert to’, and select ‘convert to Editable Poly.’ Then modify the shape by Vertex. And select the Edge selection mode button, click Loop, modify the thickness by Select and Uniform Scale.

Cravat:
Click on box button and drag up to create the box in the Perspective view. In the Parameters, Set Width Segs to4, Height Segs to4. Right-click on the box, choose 'Convert to’, and select ‘convert to Editable Poly.’ Then modify the shape by Vertex.
Make the Cloth:
Select all polygons in the body and click the Move tool, shift-drag to clone the body.
Click the clones, enlarge it and modify by vertex on different view.
After that, right-click the body that was hided from cloth then choose Hide Selection and click Unhide All. Delete these polygons. Attach the cloth and body and Collapse them.
 Create Bones.

 Then select Past Posture Opposite after click Copy Posture after click Create Collection button in the Motion.


 Skinning
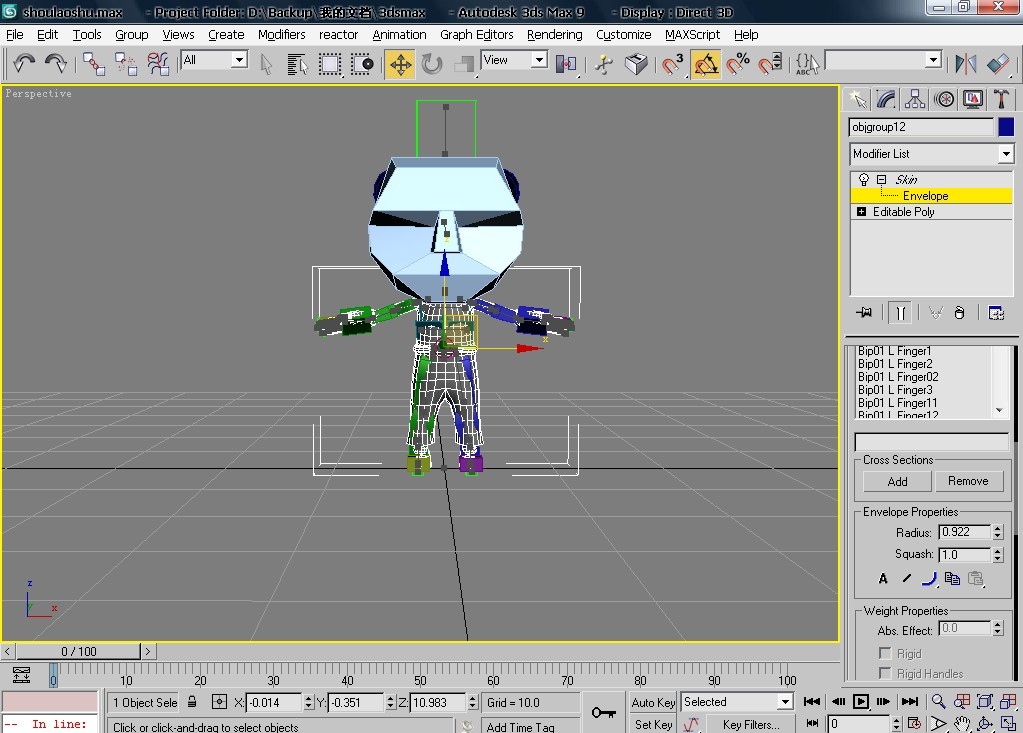
 Click Add button in the parameter plane. Click All button to select all bones from the Select bones dialog box and click Select.